Wednesday, 13 November 2024

It's time for a 3 day Seasonal Sale!


It's a great time to snag a bargain!

For the next 3 days, 13th - 15th November 2024, you can pick up a great deal so may items in the annual catalogue: 

10% off ink, including pads, refills, markers, and Stampin’ Blends. (Ink pad bundles and third-party ink pads are NOT included.)
10% off cardstock. (Close To My Heart cardstock is NOT included.)
 20% total off all stamp and die bundles and stamp and punch bundles. (Stamp bundles are normally 10% off. With this sale you get an additional 10% off.)
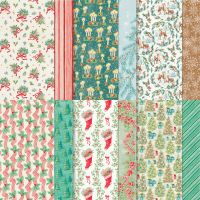
20% off all Designer Series Paper.

If you need supplies for your Christmas cardmaking, scrapbooking or crafting, or to get you through the summer holidays, buy now, save some money and relax knowing you have your papercrafting needs covered.

 Shop my online store here or call me on 0401 613 348 to order over the phone or ask any questions. Add the products of your choice to a starter kit, join my team of stampers among the gum trees and save 20% off future orders here.


Friday, 1 November 2024

12 Cards of Christmas Number 2 - Joy & Happiness Card

I fell in love with this card, it's so quick and easy to put together and is so elegant in it's simplicity. 

And the layout - well I've used it for Christmas cards, but it could be for any occasion, just use your imagination and switch up the DSP.


You will need:
Basic White cardstock 29cm x 10.5cm scored at 14.5cm
Basic White cardstock 14cm x 10cm
Basic White cardstock 13.5cm x 9.5cm
Shaded Spruce cardstock 12cm x 8cm
Sentimental Christmas DSP 14cm x 10cm
Sentimental Christmas DSP 11.5cm x 7.5cm
Shaded Spruce Satin & Sheer ribbon
Versamark Stamp Pad
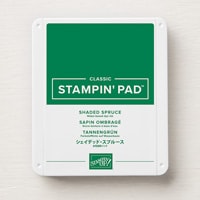
Shaded Spruce Stampin’ Ink Pad
Dimensionals
Liquid Adhesive

Tools used:
Paper Trimmer
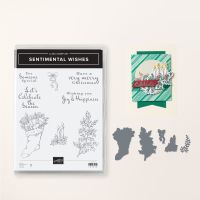
Sentimental Christmas Stamp Set
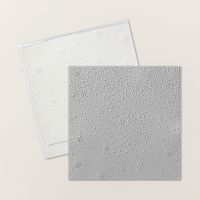
Snowflake Sky 3D Embossing Folder
Embossing Buddy
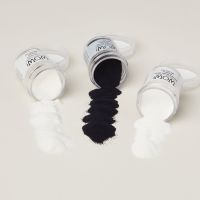
Wow! White Embossing Powder
Heat Tool
Stamparatus**
Liquid adhesive*

Step 1. Make the card base by scoring the Basic White cardstock at 14.5cm on the long side. Fold and burnish.

Step 2. Take the 14cm x 10cm piece of white cardstock and place it in the snowflake embossing folder. Run it through the Stampin' Cut and Emboss.

Step 3. Cut a length of ribbon and wrap it around the embossed cardstock about a third of the way up. Using liquid adhesive, attach the mat to the card front.

Step 4. Cut a piece measuring 11.5cm x 7.5 cm from the middle of the Sentimental Christmas DSP. This will leave a thin border  - keep it. Adhere to the Pretty Peacock cardstock with dimensionals. Use liquid adhesive to adhere to the card front, centering over the embossed mat.

Step 5. Cut a length of ribbon and tie a bow. Attach to the side of the card front using mini glue dots.

Step 6. Ink up the sentiment stamp using the Versamark. Be generous and make sure the entire stamp is covered. Use an Embossing Buddy to wipe over the cardstock before stamping (this removes any static so the embossing powder simply sticks to the stamped image). Stamp the sentiment in Versamark.

Step 7. Sprinkle with the white embossing powder. Use the heat tool to set.

Step 8. Using a label punch, punch out the sentiment and stick to the card front.

Step 9. Stick the DSP frame on the inside of the card. Stamp your sentiment in the centre of the Basic White cardstock and adhere over the DSP frame.

Shop my 24/7 online store:


Heat Tool
[129056]
$56.00