Joy mentioned this morning that no matter how many cards she made, her stash of designer series paper didn't seem to be shrinking, and she put it down to getting multiple cards from one sheet.
Well that's true; if you want to stretch your DSP then you ration the amount you use on each card (one sheet wonder templates are a great way to do this).
But why keep it? Why hang on to it, if you're not going to use it?
I know it is so pretty, it's hard to cut into a new sheet of DSP, but if you don't use it, your stash will continue to grow and no one will enjoy the beautiful cards you make using it.
So if you want to reduce the total number of cards but increase the DSP used, then stash buster cards are the way to go.
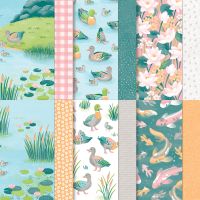
These cards use DSP as the main focus on the card and on the envelope. One 6" x 6" sheet of DSP will make one card with enough to trim the inside of the card and put a decorative strip on the inside of the envelope.
Here are some stash buster cards I pulled from my happy mail pile.
Each card uses 1 sheet of DSP, with a couple of embellishments in the form of a tag or sentiment strip, some ribbon or a bow and a few gems for a bit of sparkle.
I cut my cards to a standard 29cm x 10.5cm, scored at 14.5cm. I trim down A4 cardstock, which leaves about thin sliver of cardstock that could be saved to be used for other projects.
Then from a 6" x 6" piece of DSP I cut a 14cm x 10cm strip. If your paper is directional, watch how you cut it. This is stuck to the card front.
From there it is up to you how you want to decorate and embellish your card.
I like to decorate the inside of the card so a think strip is stuck either across the bottom or down the side. This really depends on what I feel like doing at the time, there is no rule to say how you do this.
With the piece that's left, I run a strip of tear tape along each long edge, and slip this inside the envelope, lining it up so the edge is just under the fold line for the flap.
Add a tag or sentiment to the front and the card is done.
You can make a card and matching envelope in under five minutes, and you use a whole sheet of 6" x 6" designer series paper - a great way to bust that stash!
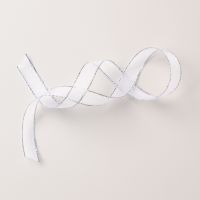
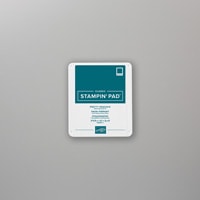
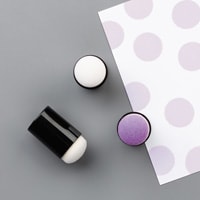
For this card I coloured the Silver and White Sheer Ribbon with Pretty Peacock ink using a sponge dauber. This is an easy way to get perfectly matching ribbon for your paper craft projects.





No comments:
Post a Comment